Set up your blog
Every TubeCMS site includes a blog. On the free plan you can publish up to 3 posts; Starter and Pro plans have higher limits.
Creating a post
- Go to Admin Panel → Content → Blog
- Click + Create Blog Post
- Write your post using the TipTap rich text editor
- Add a title, featured image, and optional summary
- Click Publish to go live, or Save Draft to come back later
Editor features
The blog editor supports:
- Rich text formatting — headings, bold, italic, lists, blockquotes
- Images — drag-to-resize, alt text, text wrapping, sizing presets (full, half, third)
- Links — inline links with URL picker
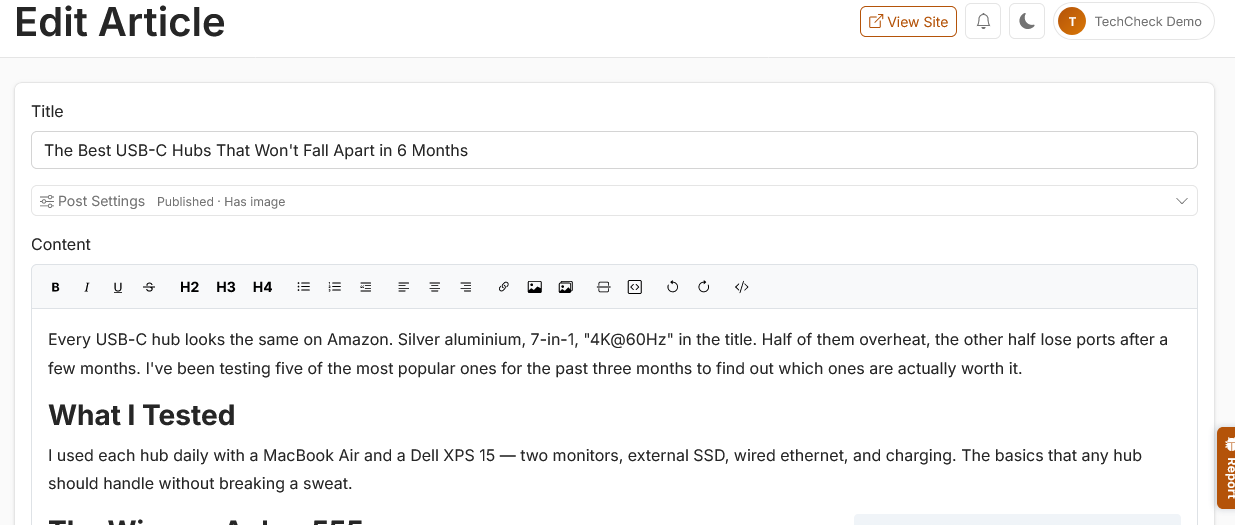
Blog editor showing the TipTap toolbar and a post being written
Featured image
Each post can have a featured image, shown at the top of the post and on blog listing cards. You can upload an image, choose one from the media library, or pick from images already in your post content.
Enable Use as thumbnail only if you want the image to appear on listing cards and link previews but not at the top of the published post itself — useful when the image is already embedded in the body content.
Tags
Tags help organise your blog posts into categories. You can assign one or more tags to a post from the post settings panel. Visitors can filter posts by tag on your blog page.
To manage your full list of tags, go to Admin Panel → Settings → Tags.
Disclosure
If a post contains sponsored or promotional content, you can add a disclosure label. Select a disclosure type from the Disclosure dropdown in the post settings — this displays a clear label on the published post so readers know the content is promotional.
Linking a YouTube video
You can link one of your YouTube videos to a blog post. When linked, a Watch the Video button appears on the published post with a sticky side panel showing the embedded video.
To link a video, select a video from the Linked Video dropdown in the post settings panel.
Tip: You can also generate blog posts directly from video transcripts using the AI blog post feature — these are automatically linked to the source video.
Blog URL and section name
Your blog lives at /blog on your site by default. You can rename the section from Admin Panel → Settings → General, then the Display tab — this changes the name in your site navigation, page headings, and the URL. For example, choosing "Articles" changes the URL to /articles.
Available names: Blog, Updates, Newsletters, News, Articles, Posts, Journal, Guides, Announcements.
Blog on homepage
You can show your latest blog posts on your homepage using the homepage builder. Go to Admin Panel → Settings → General, then the Homepage tab and add a Blog section.
Pinned posts
You can pin blog posts to the top of your blog page so they always appear first, regardless of publish date. Click the pin icon on a post in your blog list to toggle pinned status.
Pinned post limits depend on your plan:
| Plan | Max pinned posts |
|---|---|
| Free | 1 |
| Starter | 1 |
| Pro | 3 |
Recycle bin
When you delete a blog post, it moves to the Recycle Bin rather than being permanently deleted. Access it from the Recycle Bin tab on your blog page.
From the recycle bin you can:
- Restore a post — moves it back to your blog as a draft
- Permanently delete a post — removes it forever
- Empty the recycle bin — permanently deletes all trashed posts
Posts in the recycle bin are automatically purged after 30 days.